CAN DO
A Primer On Home Canning
By Ashley English | Photos by Erin Adams
Long ago, I read that one of the keys to longevity, right there alongside staying physically active, is to never stop learning. Whether it’s learning a new skill, pursuing a new activity, or acquiring a new base of knowledge, neurons are stimulated when the brain is engaged, forming an increased number of neural pathways that permit electrical impulses to move faster. This, in turn, keeps the brain agile and alert.
In my own personal life, I have always embraced a journey of discovery. Apart from being a naturally curious person, I am also interested in self-sufficient living, which means I am constantly learning new techniques and skills to meet the day-to-day needs of both myself and my family. Similarly, as the author of multiple “how to” books—addressing everything from building a home apothecary to keeping bees—I suppose I can say I’ve built a career out of learning new things and teaching them to others.
In celebration and honor of the wonderful process of learning, I am putting together a three-part series in Edible Asheville that explores a trio of homesteading skills that many people seem especially keen to learn.
In this issue, I’m excited to share some of the basics of home canning, which is both a useful and fun skill to know. In future issues, I will introduce you to the art of keeping chickens and then, lastly, making homemade dairy products.
Mastery will come with time, but I hope these primers provide just the right balance of information and inspiration to get you started on your own adventures in learning something new and noteworthy.
Home Canning: Safety First
Learning to preserve food through home canning is an invaluable skill in homesteading pursuits. The most critical part of doing it safely is knowing which foods can be processed in a boiling water bath and which must be pressure canned. It all depends on a food item’s relative acidity.
Think back to the pH scale learned in high school, which measures an aqueous (water-containing) solution’s relative acidity and alkalinity. Numbers begin at 0, which is considered highly acidic, and run up to 14, which is considered highly alkaline or basic, with 7 being neutral (water, for example).
When it comes to home canning, the more inherently acidic a food is, the safer it is to use the water-bath canning process. This encompasses nearly all fruits (those straddling the pH fence include figs, melons, and tomatoes, which are easily acidified by the inclusion of citric acid or lemon juice), and also vegetables made acidic by the inclusion of vinegar standardized to 5% acidity. So think jams, jellies, chutneys, relishes, whole fruits, fruit butters, applesauce, marmalade, and pickles. All of these high-acid items are totally safe for the water bath process.
Low-acid food items include plain, non-acidified vegetables, dairy foods, animal products, canned beans, and mixed-item foods such as soups and stews. To be safely preserved, these foods must be processed in a pressure canner. This is because you need to increase the temperature to a high enough point to kill off harmful and potentially lethal bacteria, namely, Clostridium botulinum, aka botulism.
Botulism spores are found in the soil naturally, and we generally live in symbiosis with them. If you pluck a carrot or beet from your garden and munch on it, all is well. However, when placed in a hermetically sealed jar in an anaerobic (oxygen-lacking) environment on a low-acid food, botulism spores can proliferate exponentially. What makes them so challenging and potentially injurious is that they are odorless, colorless, and an amount as small as your pinky nail can be harmful.
In a vacuum-sealed jar, the only way to kill botulism spores on low-acid foods is to heat them to a minimum temperature of 240°. A temperature this high cannot be achieved in a boiling pot of water, but it’s no problem whatsoever in a pressure canner.
Equipment
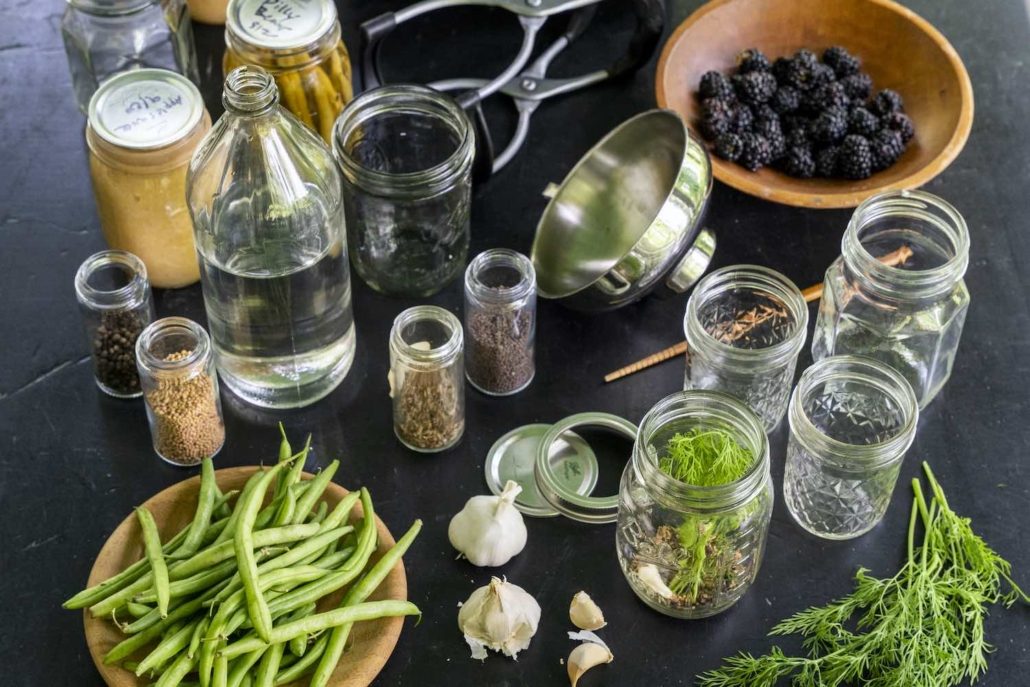
You may already have a stock pot large enough to use for water bath canning. If so, you’ll need a rack or some other item such as a circular cake cooling rack or even a silicone trivet, which is what I use, to help keep the bottom of the jars off direct contact with the bottom of the pan. Water needs to be able to flow above, around, and under the jars during processing. Otherwise, you may want to consider purchasing a canner expressly designed for home canning.
Next, seek out jars specifically made for home-canning purposes. Such jars are made of tempered glass intended to withstand high temperatures and repeated use. Tempting as it might be to upcycle store-bought jars filled with premade foods, these vessels aren’t designed for ongoing exposure to high temperatures and will crack. Before using a jar, run your finger around the circumference of it whenever you can, even if you’ve just opened a brand new box of jars. Discard any jars with chips or cracks or transition them to non-kitchen storage use. As long as they’re free of damage, your canning jars can be used indefinitely.
Each jar will need a two-piece canning lid and screw band. As long as the screw bands don’t become rusted—and you can work toward this goal by wiping them down with a dry cloth after each use—they can similarly be used in perpetuity. Lids, however, will need to be replaced with a new one each time. A rubber compound in the lid’s underside forms a nearly imperceptible indentation when sealing, threatening successful seals in future batches if repeat use is attempted. It used to be necessary to warm the lids before use, but this step is no longer required as manufacturers have reworked their formulations to circumvent the need for preheating activation of the rubber compound.
Helpful extras include a canning funnel and a jar lifter. Unlike narrow-necked funnels, canning funnels have wide openings, allowing for ample room when filling jars. Jar lifters have rubber or silicone fittings over a metal frame, enabling a safe, firm grip. Both items are easily sourced at homesteading suppliers, either online or brick-and-mortar locations, and are also frequently carried by most big-box retailers and kitchen supply stores.
Processing
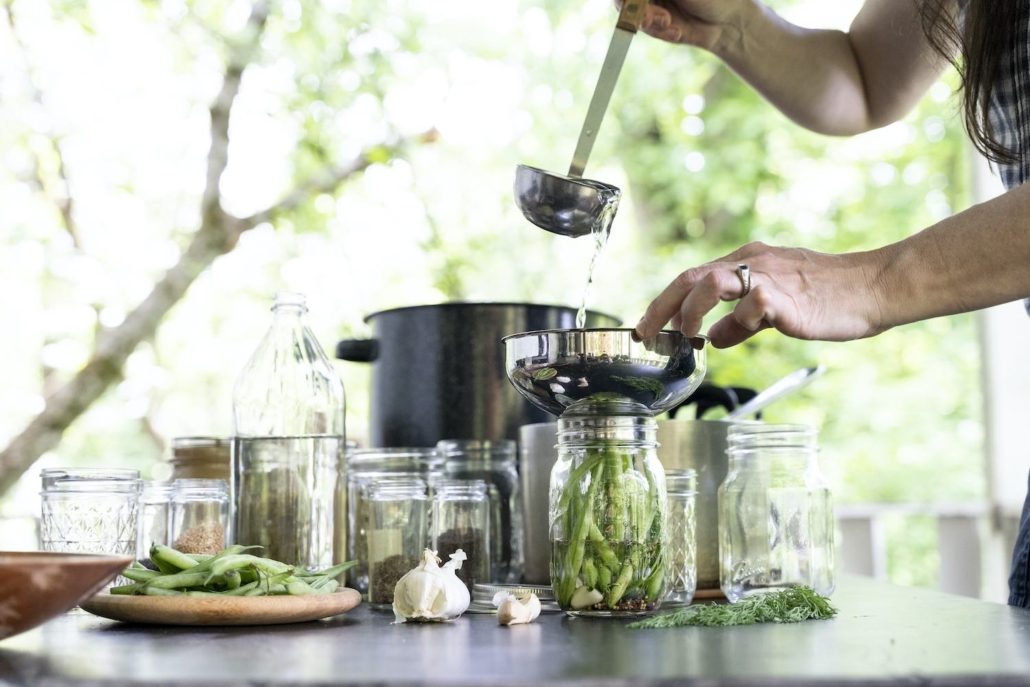
After you’ve secured your equipment and obtained a safe, reputable recipe, you’re ready to can. Follow the recipe exactly as written because any adjustments to ingredients can compromise safety. Place your canning jars into a canner or stock pot, either by putting them in the canning rack and lowering the rack down, or by simply placing the jars on a metal cake cooling rack or silicone trivet at the bottom of the pot.
Fill the pot and jars with water to a level about 2-3 inches above the tops of the jars. Cover the pot and set over high heat. You’ll warm the jars in the canner while you prepare the food item. Be sure to read the recipe all the way through before beginning, as some ingredients require lengthy preparation steps.
When it’s time to fill the heated jars, remove them from the canner with the help of a jar lifter, and place them on top of a kitchen cloth on the counter, emptying out all of the water from the jars and putting most of it back into the pot. As you fill each jar, pay careful attention to whatever headspace is indicated in the recipe—this is the amount of space between the underside of the lid and the top of a jar’s contents. Leaving headspace allows food to expand when heated so a vacuum seal can properly form.
(Tip: If you examine the glass thread bands on the upper portion of a canning jar, ¼ inch headspace is generally located just below the uppermost thread band, ½ inch is where the two thread bands meet, and approximately 1 inch is found at the bottom of the glass rim encircling the entire jar. Be sure to fill up to, but no farther than, your recipe’s given headspace.)
Once the jars are filled, take a non-metallic utensil, such as a small spatula or a wooden chopstick (my device of choice), and run it around the jars’ interior circumference, releasing any trapped air bubbles. Check the headspace afterward, as this may make more room in the jars. Add more food or liquid as necessary. Wipe down the rims with a clean, damp cloth, place the lids on, and then attach the screw bands just to “fingertip” tightness, which is essentially the sweet spot where you begin to encounter resistance when affixing the screw band.
Using a jar lifter, slowly, gingerly lower the jars into the pot one at a time. Wait until the water begins to boil, then process the jars according to the recipe’s indicated time. You’ll need to adjust the boiling time for altitude if you’re above sea level, like we are here in Western North Carolina. At up to 1,000 feet above sea level, the time as written in the recipe can be used. Above that, and up to 3,000 feet above sea level, add five minutes; increase by 10 minutes for 3,001-6,000 feet, 15 minutes for 6,001-8,000 feet, and 20 minutes for 8,001-10,000.
This time adjustment is necessary because, as we go up in elevation, the temperature at which water boils decreases. At sea level, that temperature is 212°. At the top of Mount Everest, however, it might be closer to 154°. Since it’s important to heat a jar’s contents all the way through in order to effectively kill off harmful bacteria, mold, or yeasts, increasing the processing time when canning above sea level works toward that goal.
Once the processing time is over, remove the jars from the pot and place them on a dry cloth on the counter. Watch and listen for the lids to seal. You’ll hear a “ping” (sometimes loudly, sometimes barely at all) and should also be able to visually confirm that the top of the lid has gone from a convex to a concave shape. Sometimes these visual and auditory sealing clues occur immediately, while other times it can take up to a full hour, even with jars from the same batch. Give it time. On numerous occasions, I’ve removed jars from a pot only to have half of them seal nearly immediately, while others took up to 30 minutes.
Once you’re able to visually confirm that a seal has formed, remove, dry, and put away the screw bands (processed jars can be stored without them), then allow the jars to cool completely on the counter. Once cool, wipe down the lids and jar thread bands with a clean, damp cloth—during processing, a fine mist is vented off of jars, which, if not wiped away, can cause mold to form on the thread bands during storage.
Finally, label and date your jars and store them in a dark, cool area such as a pantry or cabinet out of direct sunlight. Aim to consume within one year. While the food doesn’t go “bad” after that time, the quality does begin to degrade and deteriorate. ◊◊
Ashley English is the author of 11 books, including The Essential Book of Homesteading and Southern From Scratch. She also does a good deal of freelance writing and has been featured in a number of major publications. Ashley lives in Candler, NC, with her husband Glenn, two young sons Huxley and Alistair, and a menagerie of animals. She can be found chronicling her adventures in homesteading and beyond atsmallmeasure.com.
Save
Save
Save
Save
Save
Save
Save
Save
Save
Save
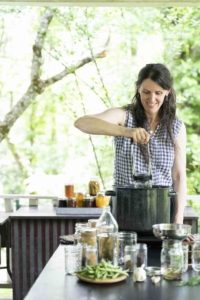
Ashley English, author of The Essential Book of Homesteading
THE WEEKLY REVEL
Sign up for your free handpicked guide to enjoying life around Asheville.
Available weekly from May to October.


